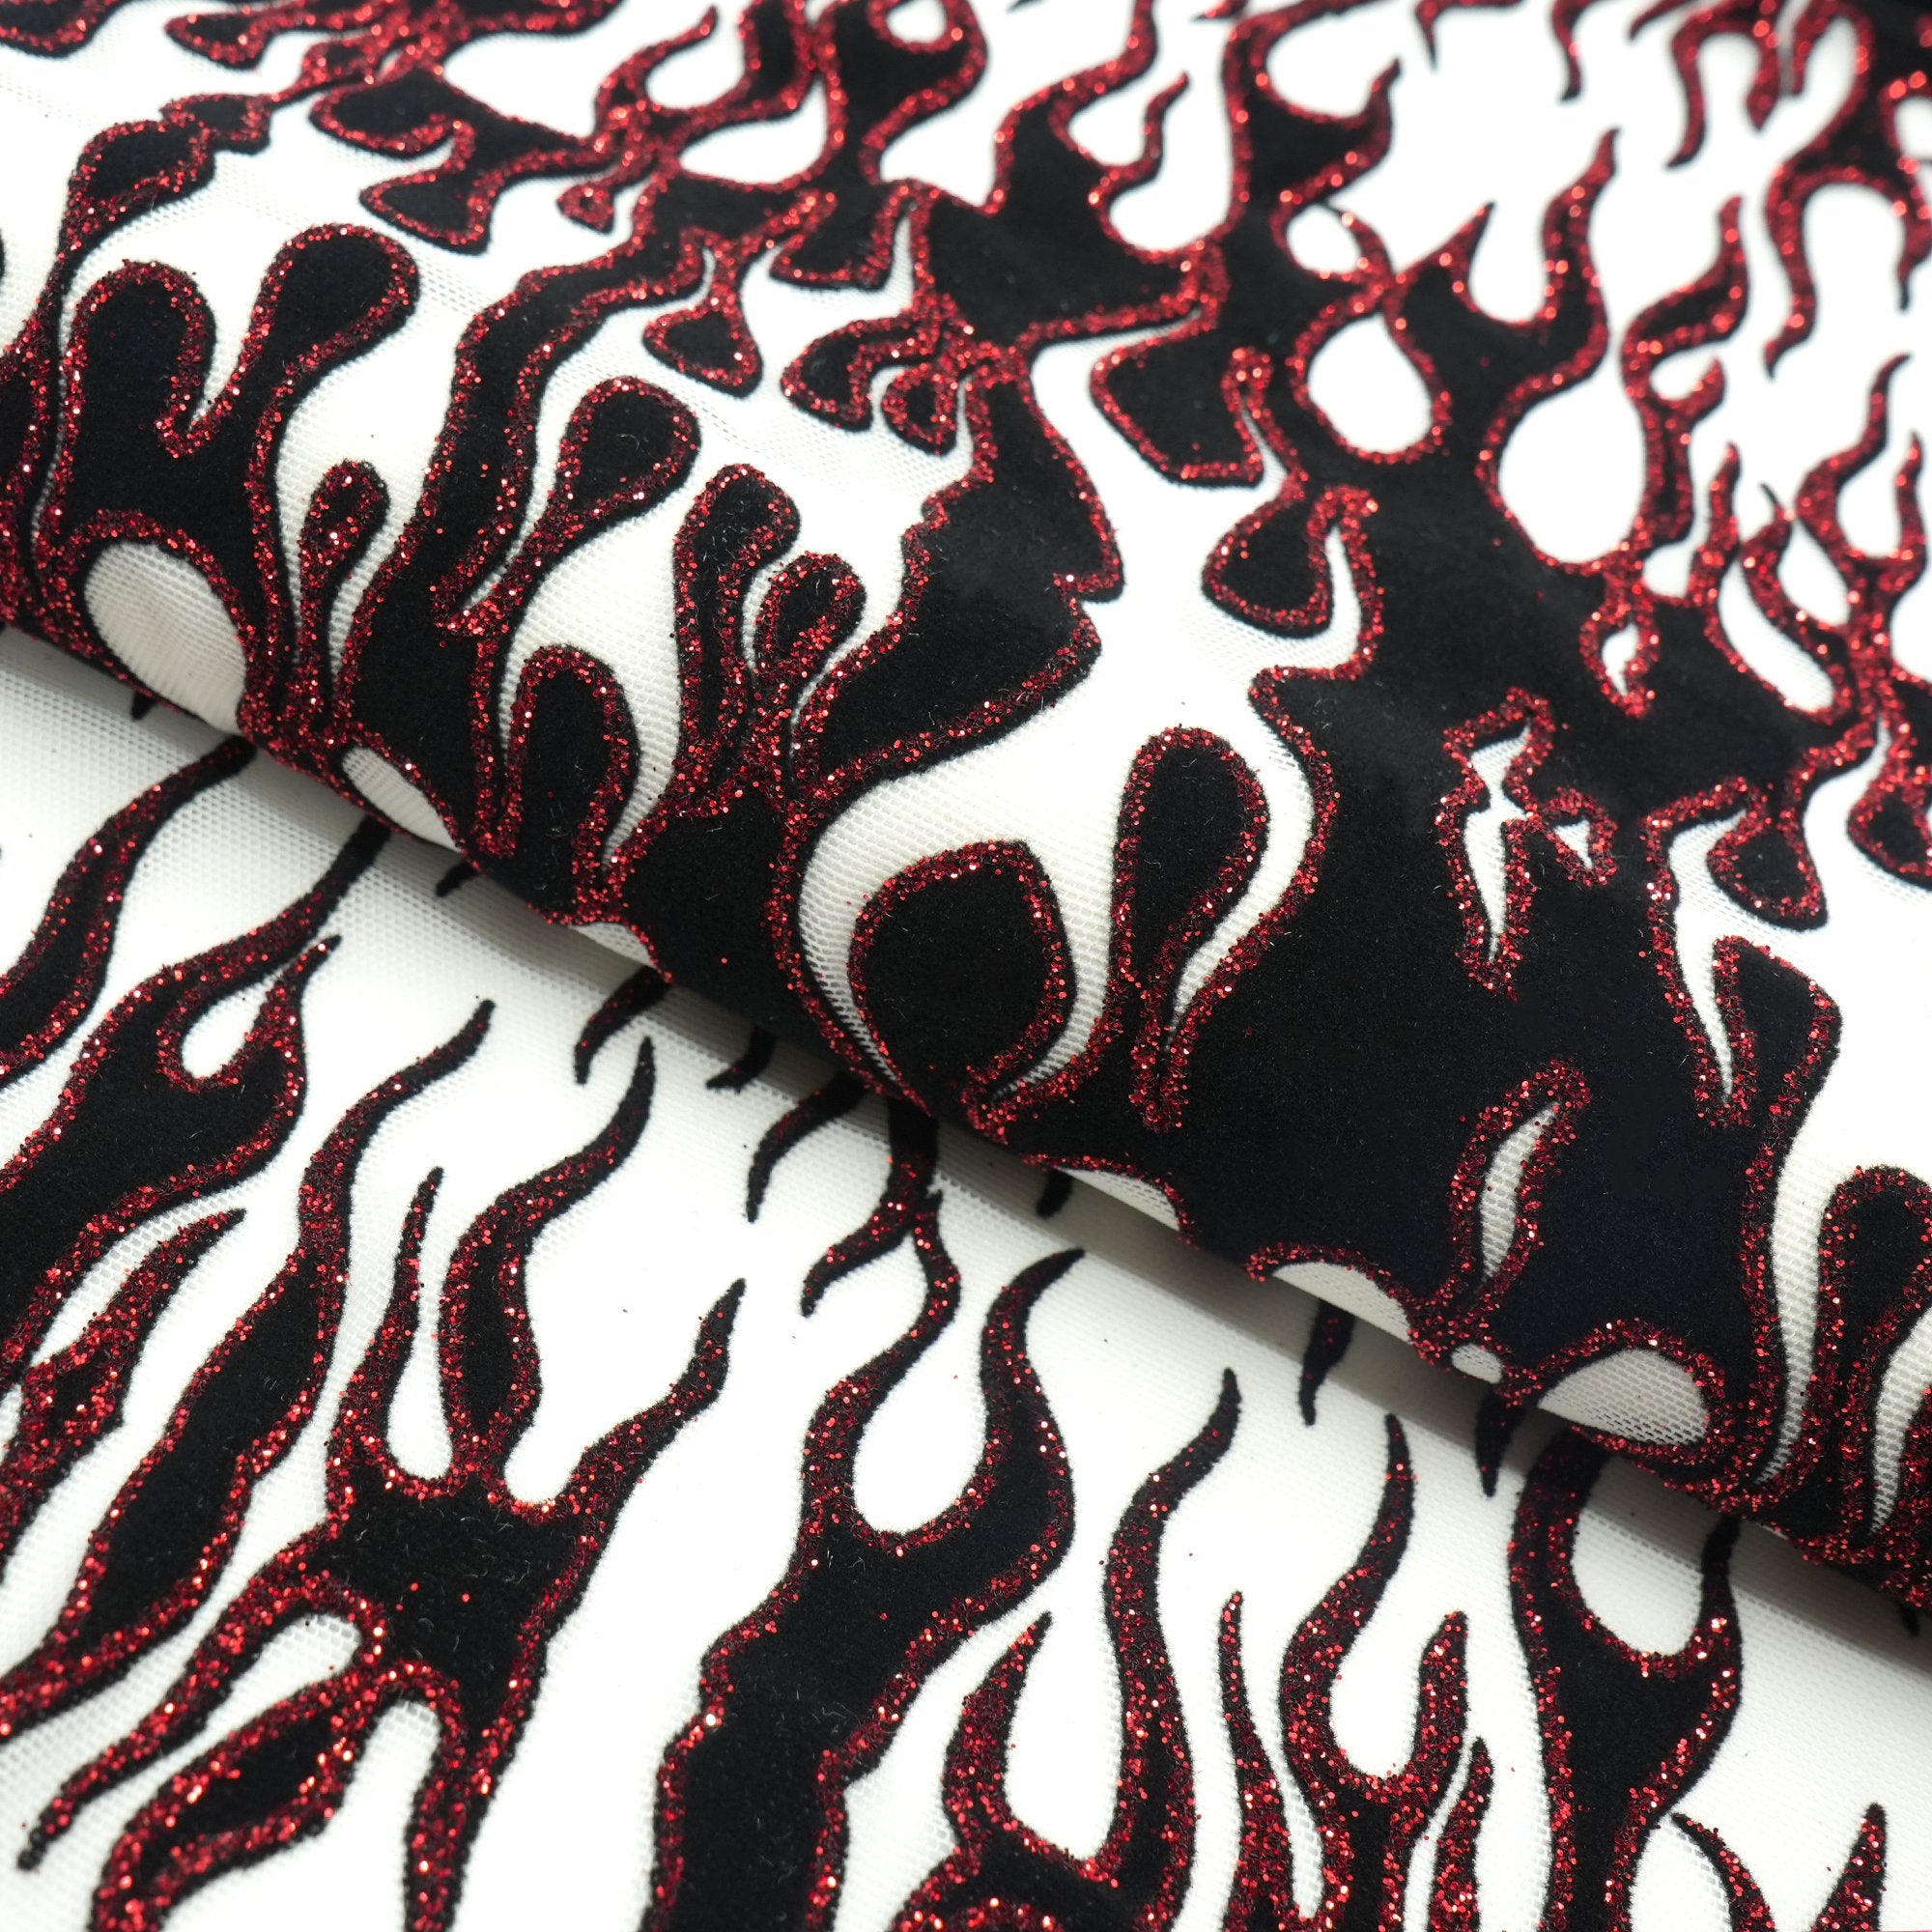

Choose a lining that works with your pattern’s stretch requirements, feels comfortable against the skin and gives the coverage you want when both fabrics are stretched together. A lining should not be an afterthought: it becomes part of how a fitted dress, leotard or costume moves.
A matching color is a useful starting point, but it is not the whole decision. The right pairing also depends on stretch direction, recovery, weight and the garment’s construction. Here is a practical way to compare your options before cutting into your main fabric.
First, decide what the lining needs to do
Write down the job you need the extra layer to perform. Are you adding coverage beneath a sheer panel, covering seam allowances or creating a more comfortable inside surface? Those are different goals from adding firm support.
- Coverage: check the layered fabrics under light and at the stretch they will experience in the garment.
- Comfort: feel the sample against your skin, including a sewn seam rather than just a flat swatch.
- Support: follow a pattern designed for the intended support construction. Do not assume every product called power mesh behaves like firm powernet.
Pattern-specific instructions matter. For example, Jalie’s 3350 swimsuit sewalong specifies limited-stretch powernet for one optional lower-front treatment, but regular lining for the bust. That is a construction choice for that design, not a rule to use firm mesh everywhere.
Match the movement, not just the fiber content
Two fabrics containing spandex can stretch very differently. Check the pattern’s minimum stretch in each required direction, then test the main fabric and lining separately. A “4-way stretch” label describes direction; it does not tell you a measured stretch percentage.
Seamwork’s knit-shopping guide explains that a lining with less stretch than the outer fabric can make a garment feel too tight. This is particularly important in close-fitting designs. Use our fabric stretch percentage guide to check your samples, then compare the results with your own pattern.
Also observe how each layer returns after stretching. If one remains noticeably longer or ripples against the other, treat that as a reason to test another pairing rather than assuming the finished garment will settle into place.
Power mesh is an option, not a promise of opacity
Blue Moon’s PW8 Power Mesh Skin Tones & Neutrals Collection is listed as 92% nylon and 8% spandex, 90 GSM, with 4-way stretch and a 58-inch usable width. Those specifications make it a candidate to sample for stretch layering; they do not establish a compression rating or guarantee full coverage.
Mesh has an open structure. Put the actual color beneath your main fabric and examine the combination both relaxed and stretched. A light, dark or skin-tone layer can change the appearance of the fabric above it. Choose based on the finished effect you want, not on the color name alone.
The mesh lining collection is a place to compare options. Check the selected color’s current availability before ordering; availability varies by variant.
Lining and underlining are not the same construction
A separate lining finishes the inside of a garment. Underlining backs the outer fabric, and the paired pieces are handled together during construction. New Mexico State University’s guide to linings and underlinings distinguishes these methods and notes that woven underlining can restrict a knit’s stretch.
Use the method your pattern specifies. Adding another layer does not automatically mean cutting every piece twice and joining everything at the edges. Necklines, openings, hems and any elastic application need the construction sequence intended for the design.
Make a small layered test before cutting
This is a useful sample-room check, not a substitute for a fitting:
- Label the samples. Note the product, color and fabric direction so you can reproduce the pairing.
- Layer them as intended. Keep the fabric directions consistent with the pattern. Look for a change in color, texture or coverage.
- Sew a representative seam. Use the needle, thread and stitch you intend to use in the garment. Include elastic or a seam finish if that detail is central to the design.
- Stretch the sample gently. Check whether the seam opens, stitches break or one layer pulls against the other. Adjust and retest before committing.
- Check the appearance in relevant light. For a stage costume, compare the sample in the lighting available to you and take a photo. For daywear, include daylight. A sample check is more informative than judging two separate product thumbnails.
Keep the approved sample beside the project with your notes. For a group costume or repeat production run, it gives you a reference for the pairing you actually tested.
Three questions before you order yardage
- Does each fabric meet the pattern’s movement requirements?
- Does the layered sample give the coverage, feel and appearance you want?
- Can both materials be cared for together according to their instructions?
Do not apply a generic high-heat pressing or washing routine to an unfamiliar specialty finish. Confirm the care guidance for both layers and test a spare sample first.
Quick answers
Can I line stretch fabric with a non-stretch fabric?
Not as an automatic substitution in a fitted stretch pattern. A non-stretch layer can restrict movement. Use the specified lining or consult the pattern designer before changing the construction.
Is power mesh always opaque?
No. Test the actual mesh color beneath your outer fabric at the intended stretch. If coverage is the main goal, choose on the basis of that layered test.
Should a lining be the same color as the outer fabric?
It does not have to be. Compare a matching shade with other suitable options under the actual outer fabric. Let the resulting appearance guide the choice.
The best lining is the one that works with the whole garment. Start with the pattern, compare real samples and keep the pairing that performs the way your design needs it to.